Below I have embeded the final titles and opening scene that we have created. I was acting in the project, while Beth was in charge of the filming and camera angles and filming and Simran was in charge of directing. All of us came together to edit the clips to make this finished piece of work.
Thursday, 27 March 2014
Thursday, 20 March 2014
Editing Stage Three
As we come to the end of our editing, little things must be added to create a good overall product, for example the credits had be added, it is key that we use a font that fits with the horror genre, and select a colour that fits in with conventional horror film colour schemes. Below are screen shots of our selection process in deciding what font we will use,

- The name of the titles that we decided looked the best is 'Feature' we chose this because the font fades in and out, leaving a eerie spooky atmosphere. Here we are placing it onto the footage and positioning it somewhere that looks best.
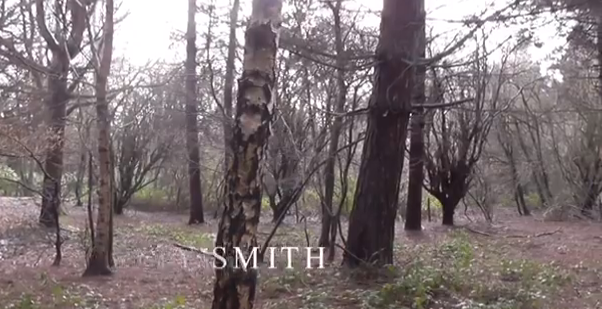
- This screenshot shows the titles fading in, this looks good as the simplistic white font that fades in and out has connotations of ghosts and spirits, which is very much linked with the horror genre.
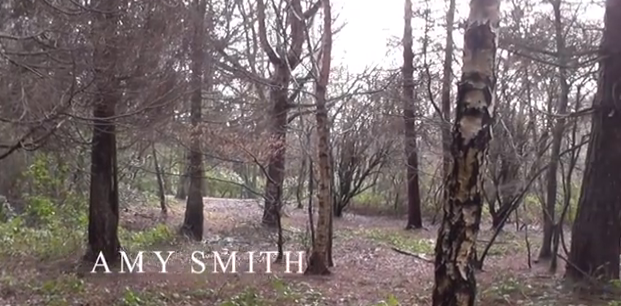
- This screenshot shows the font we titles we have chosen fully, as can be seen it is a simplistic font, that has not too much detail, and the letters are all in capitals, suggesting this is serious film, and the mysterious atmosphere has been set.
Wednesday, 19 March 2014
Editing stage two
One of the conventions of horror movies is having appropriate music over the top of the footage to create a tense and suspense atmosphere. The music that we searched for has come from a royalty free website called SoundCrate.

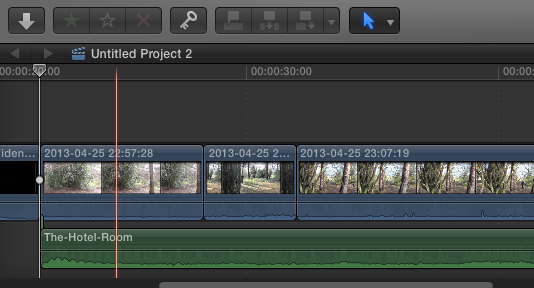
The screenshot below demonstrates the music on top of the footage for our film. The name of it is called 'The Hotel Room' and we saw how well it worked with the footage we have. It turned out to be effective and created the atmosphere we were aiming for.
During today's lesson and this activity, we learnt what kind of music will work well with our footage and what kind of music will not. This will impact our final music video because we will have music that flows with the timing, pace and atmosphere that we are aiming for in our horror film.
Tuesday, 18 March 2014
Editing Stage One
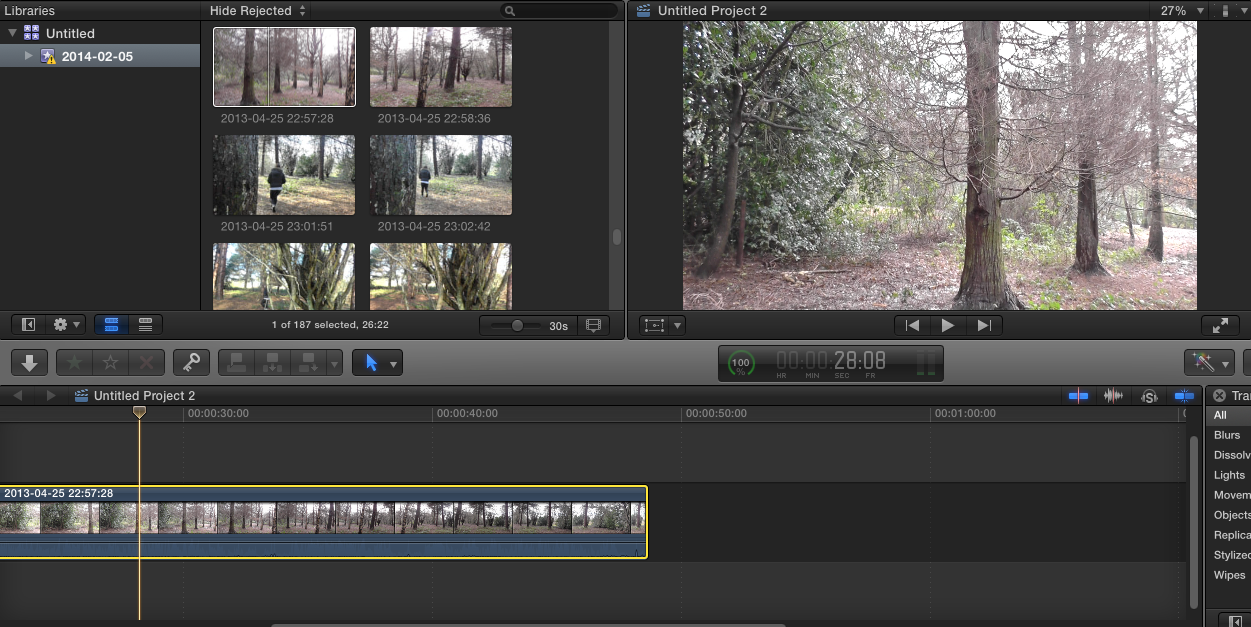
In today's lesson we uploaded our footage, so we can start editing on Final Cut Pro. We looked at all the footage we had and cut off some of the excess part of the clips in which we didn't need. Below are some screenshots of the editing stages:
Adding in the footage that we need, ensuring it is in chronological order:
Deciding where we need to cut off parts of the clip we do not need:
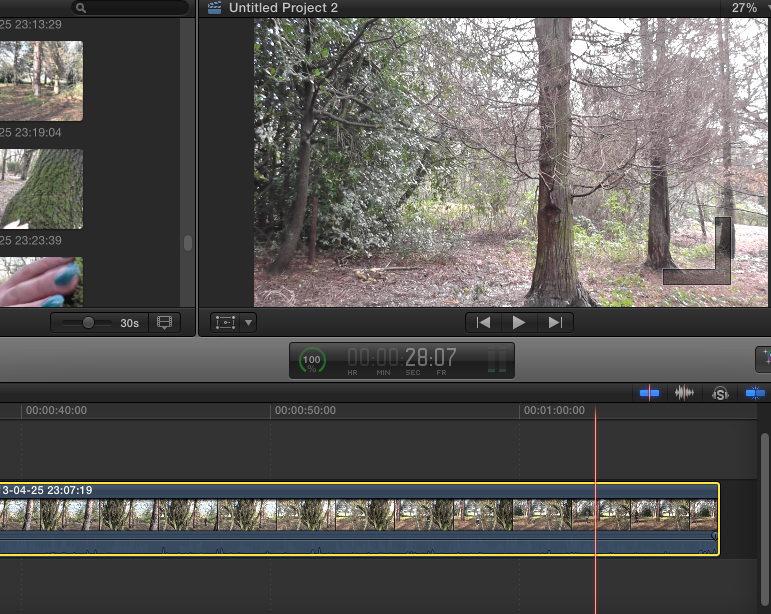
Cutting off the parts we do not need:
Today's lesson has further improved our editing skills and has been useful to help us decide what parts we need and what we don't. Therefore, we won't have any unnecessary footage and this means our work will run smoothly and editing will work well.
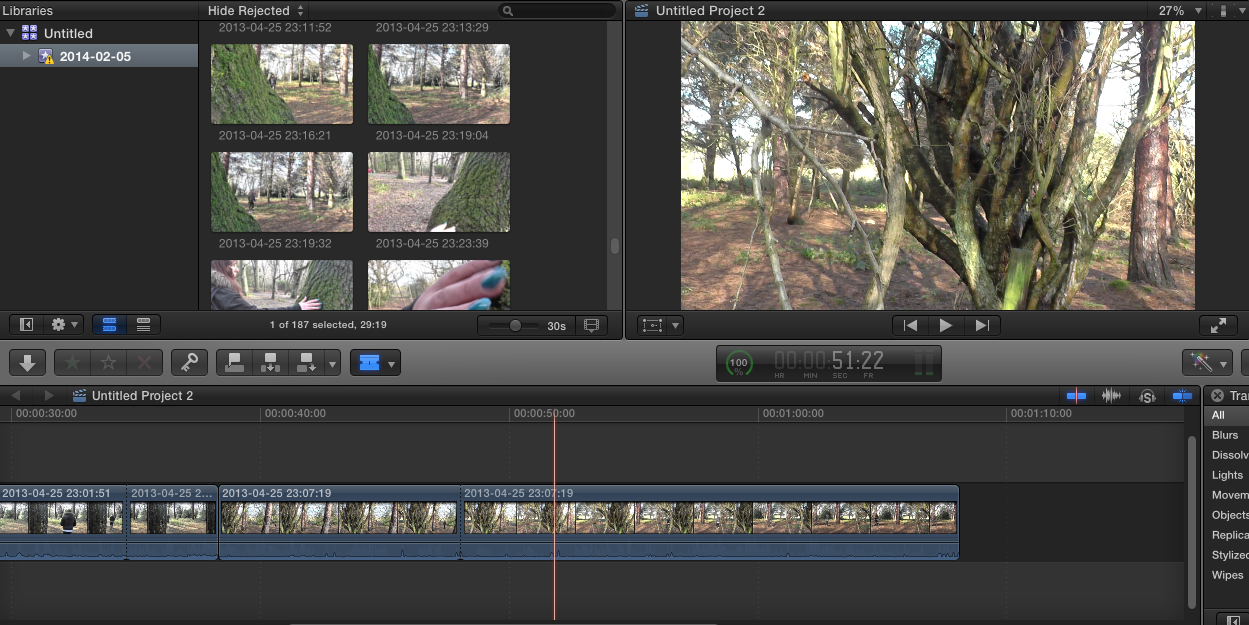
Adding in the footage that we need, ensuring it is in chronological order:
Deciding where we need to cut off parts of the clip we do not need:
Cutting off the parts we do not need:
Today's lesson has further improved our editing skills and has been useful to help us decide what parts we need and what we don't. Therefore, we won't have any unnecessary footage and this means our work will run smoothly and editing will work well.
Monday, 17 March 2014

Thursday, 13 March 2014
Pre-filming activity.
Canted angle test footage
As a group, to practice our camera shots prior to the filming we did a few 'test shots' to make the filming process easier. One of the shots we wanted to use in our final project was a canted angle from the floor level, so therefore we decided to do a test of that. Our plan is to introduce the main character into our project this way. This is also a convention of opening titles and scenes. The setting of the place we are filming is a forest, and this may create problems when doing the canted angle, hence why we did a run through first.
Editing
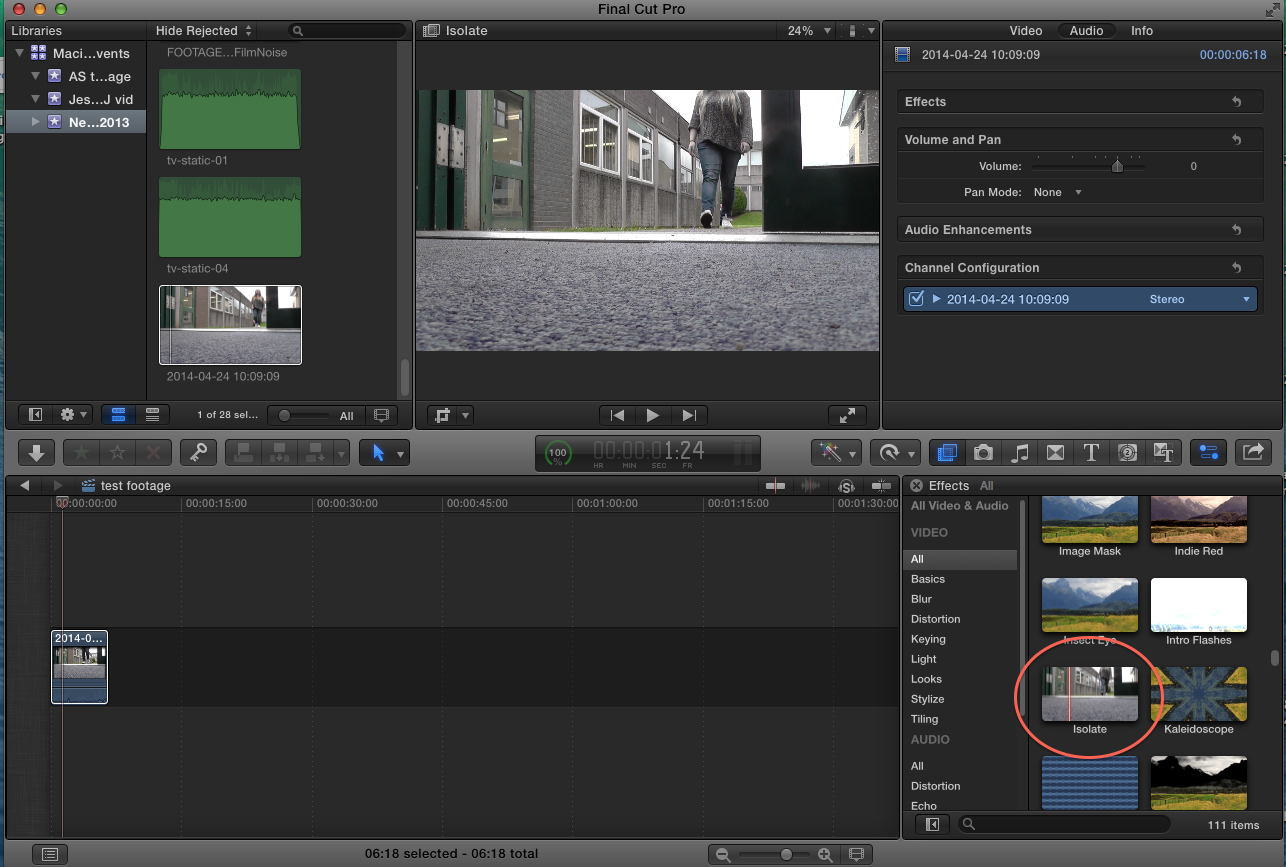
After uploading our footage in Final Cut Pro, we applied filters on top of it to make it darker, as most horror movies are set in dark locations to create an eerie/thrilling atmosphere for the target audience.
A filter we experimented with and applied was 'Isolate'. It made the footage darker which is what we aimed for, and we believe this could be a potential filter for our final film project.
Before filter:

After filter:
'Romantic' was another filter that we used and like in Final Cut. It created a slightly hazy effect to the shot.
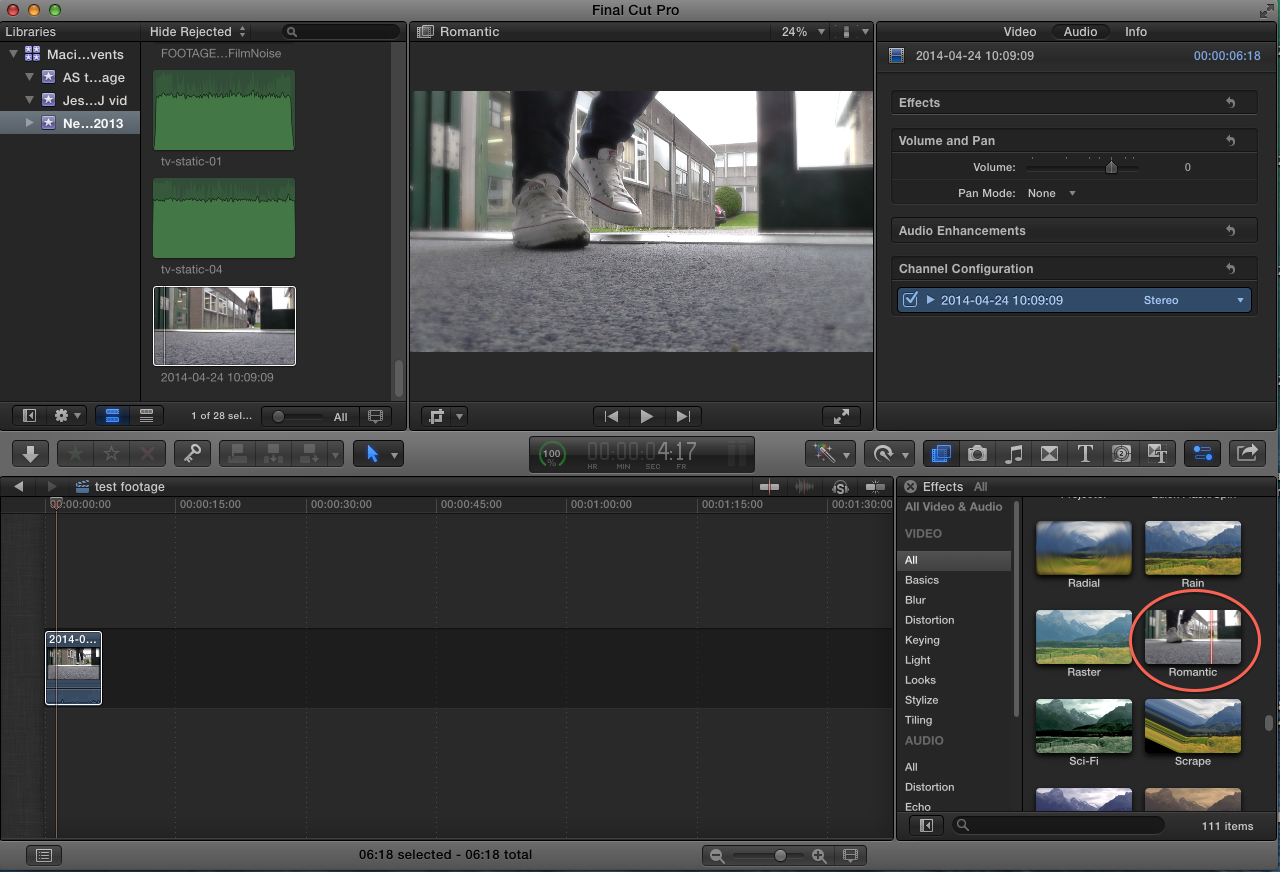
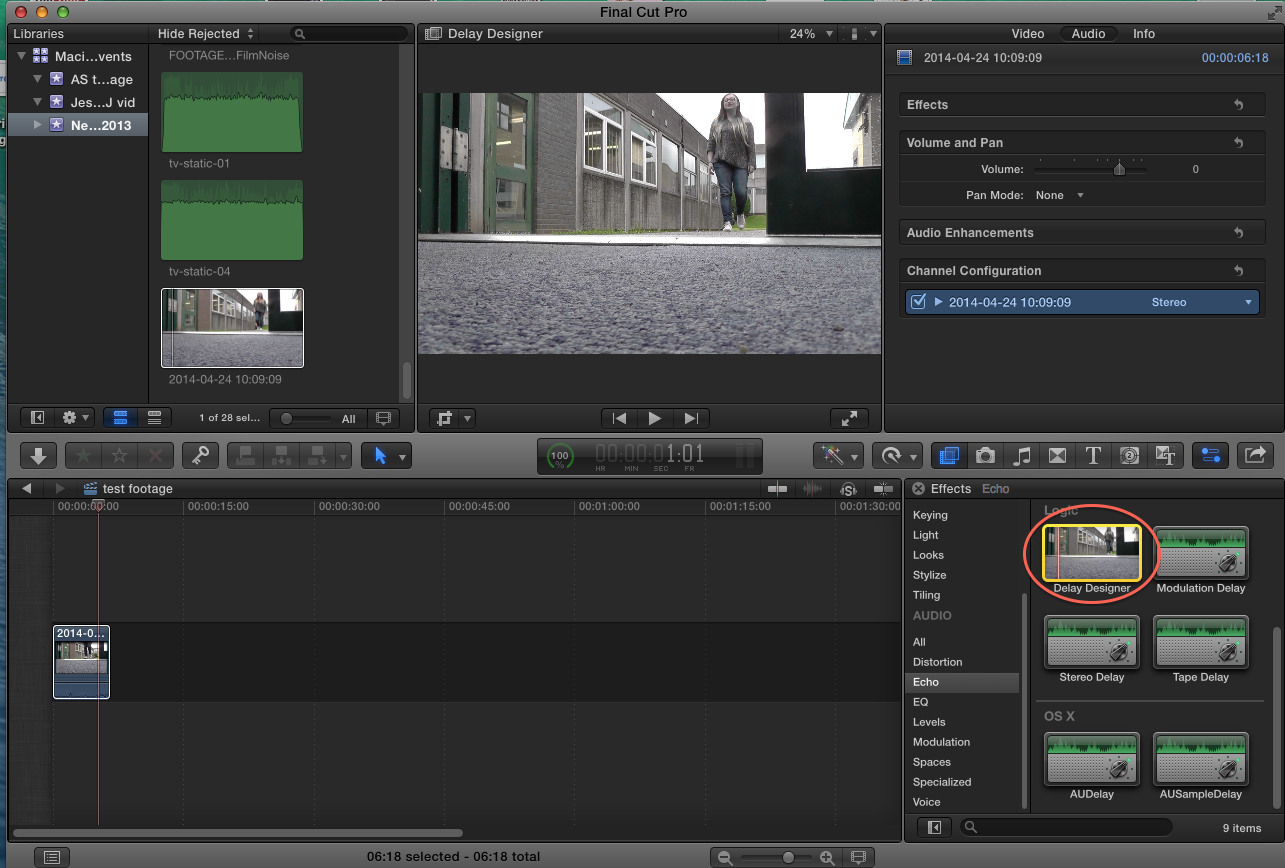
This effect could be good to use if it's raining on the day we film and so therefore we can not create the atmosphere that we aimed for naturally, so we would have to use filters to create a similar effect. We also tried out some audio filters such as 'Cathedral' and 'Delay Designer' we chose to use the latter audio effect to enhance the natural sounds of birds and Beth's footsteps, as it will draw focus on her entrance in the footage. This audio filter would be good to use in our final project.
Edited test footage
Friday, 7 March 2014
Health and safety form.
Below I have embeded the Health and Safety Form Beth has made using SlideShare. It is important to clear up and prepare for any risks and dangers that may happen and by doing this form we can make ourselves aware of how to avoid them, so the creation of our project can run as smoothly and simply as possible.
Wednesday, 5 March 2014
Research and Planning


I have created a shot list for my group to help plan what shots we are going to use, the location, what exactly is happening in the shot, the people taking part in the shot and the equipment that will be needed during the course of shooting. I did this because it will help keep the day of filming organised and the group knows what is coming next and everyone knows what they will be doing.
Subscribe to:
Comments (Atom)